Adjust Visit
Correct an HCP in a patient's invoice, if required.
Before you begin
Warning:
If a patient claim has been submitted, you
must complete a same-day delete before you adjust the HCP.
About this task
Procedure
To adjust an HCP:
-
From the
 Patient Search or
  Patient Queue, select a patient.
-
To view a patient's transaction history,
click
 Transaction History in the floating navigation bar. You are
redirected to the Transaction History
panel.
Tip:To minimise the number of transactions on the screen, apply filters such as a date range, visit type, reference number, paid or unpaid. -
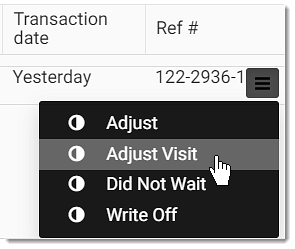
Hover your mouse over the invoice item and click
 Menu.
Menu.
-
From the list, select Adjust Visit.

- To change an HCP, from the Service provider list, enter the required HCP name or user ID and select it.
- From the Category list, select an appropriate category for an adjustment.
- In the Reason field, enter a reason for the invoice adjustment.
- Click Save.
Results
What to do next
To print the required invoices or adjustment details, from the Print list, select either Print or Print with adjustment. For more information, see Print Invoices.