Activate a Schedule
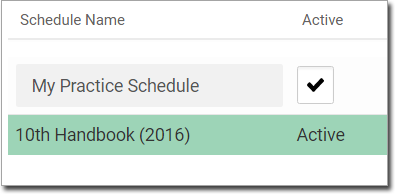
A practice can have multiple immunisation schedules but only one schedule at a time can be active and in use practice-wide.
Before you begin
Permissions:
- Configure Immunisation Settings
For a schedule to be active, the conditions are:
- A schedule should not be made active until all its diseases, vaccines, and rules are added and completed.
- The schedule must have been activated.
- The schedule must have a start date. For more information, see Edit a Schedule.
- You cannot activate a schedule if its schedule's start date is matched with start date of another active schedule.
- The start date must be today or in the past.
- The schedule's state must be in active state. A newly created schedule has the state Inactive, and remains so until you activate it manually. For more information, see Create a Schedule.
About this task
Procedure
To activate a new schedule:
- Select .
- In the Settings window, select .
-
In the Immunisation
Schedule window, select the Manage
Schedule tab.

-
To activate the required schedule, click
 Edit.
Note:You cannot edit an active schedule.
 -
Set Active.

- Click Save.
Results
Note:
Although the schedule is flagged as active,
it will not actually become available for use during consultations until its start
date.