Record Measurements Using Shortcuts
Add measurements data directly into the Consult window using keyboard shortcuts.
About this task
Procedure
To add measurements directly to the consult:
-
From the
 Patient Search or
  Patient Queue, select a patient and click
  Consult.
- Click within the Consult panel to add your insert point. In our example below, we clicked within the History section.
-
Type \ to call the shortcut menu, then type the shortcut
text. For example, we typed \bp to call Blood Pressure
shortcuts.
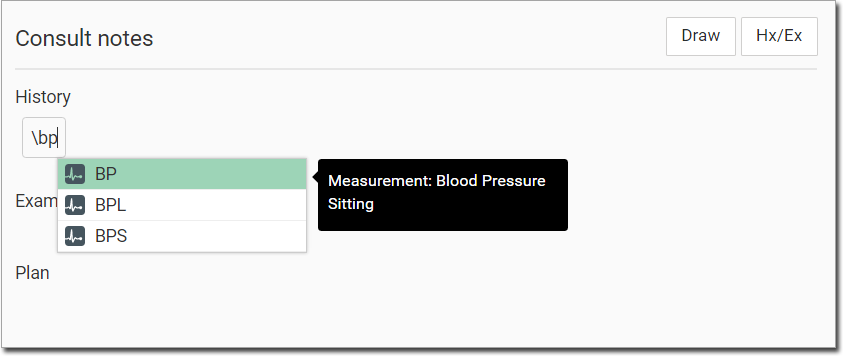
- Select the module you want to use. We selected the first option, BP.
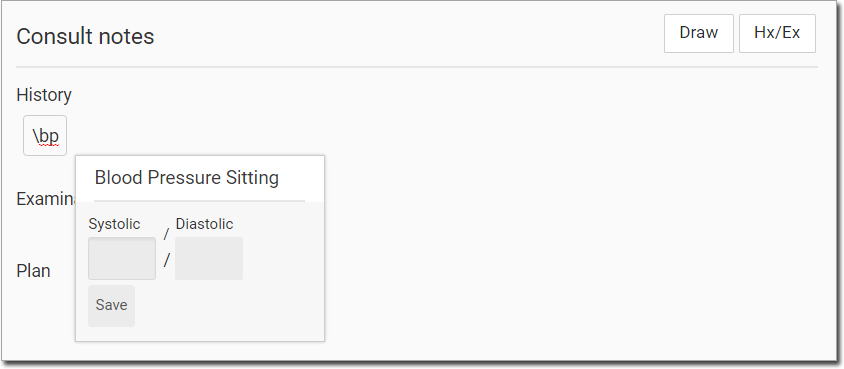
- Record your observations.
- Click Save.
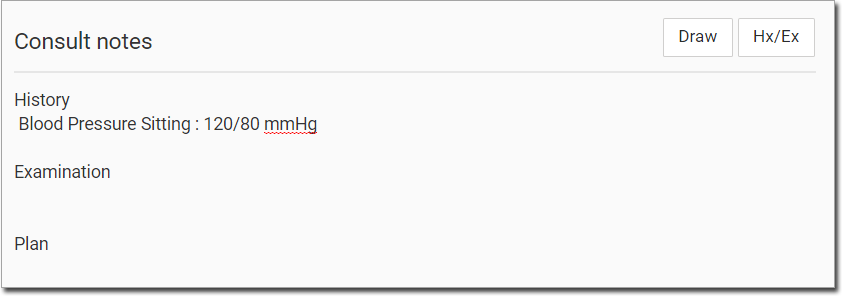
Results
Your data is added to the consult.
Measurement data added during a consult to either the
 Measurements panel or the Consult panel is displayed in the
Actions section of the patient's record.
Measurements panel or the Consult panel is displayed in the
Actions section of the patient's record.

Consult panel is displayed in the
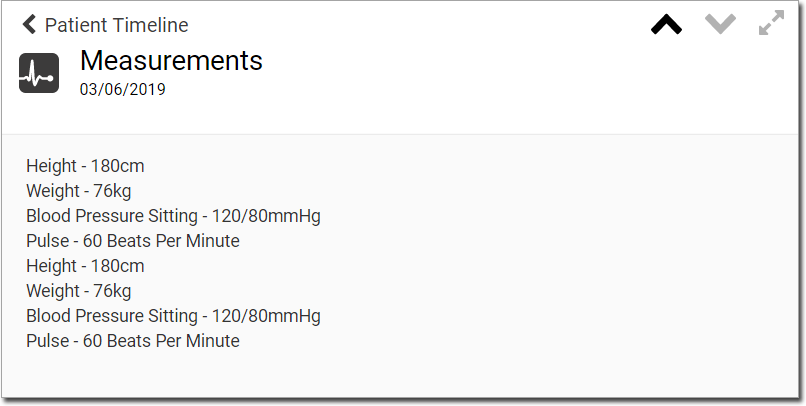
Actions section of the patient's record.When the consult is ended, any measurements recorded are
added to the consult entry in the patient's Timeline, flagged with the  Measurements icon.
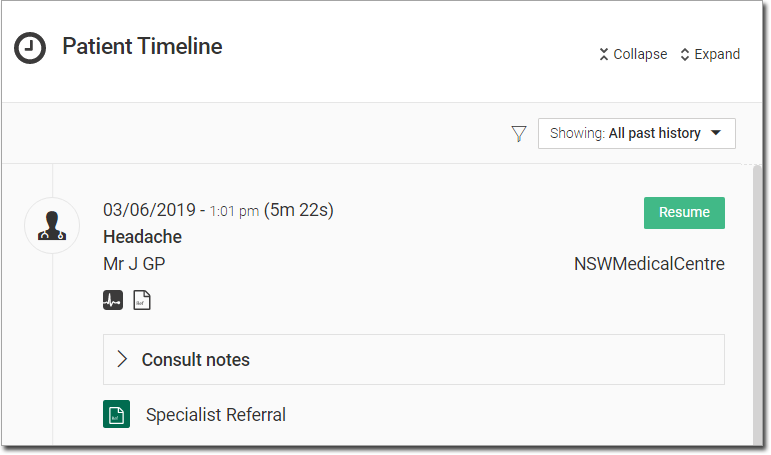
To display the related measurements data, click Measurements.
To display the related measurements data, click
Tip:
You can delete data on the same day in
which it was recorded. In the required section, click  Delete Data.
Delete Data.