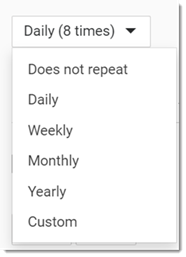
Edit Recurring Appointments
Users with access to the ![]() Appointments book can update the patient's appointment details.
Appointments book can update the patient's appointment details.
Before you begin
Permissions:
You must first create a recurring appointment for the patient. - View Appointments
- View All Appointment Books
- Edit Appointments
- Create Appointments
- Delete Appointments
About this task
Procedure
To edit recurring appointments:
-
In the
 Appointments book, select the appointment you want to update.
-
Click
 Edit.
Tip:Alternatively, use the drag handle to reschedule the appointment to a new time. For more information, see Reschedule an Appointment Time or Date.
 -
Edit the appointment details you can edit:
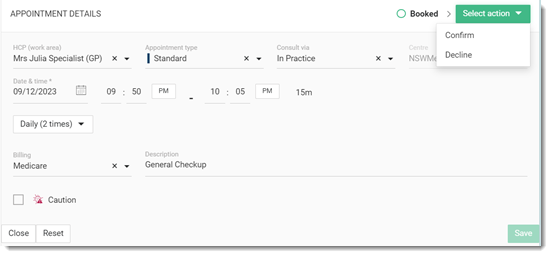
In the Appointment details section:- The current status of appointment is displayed in the heading on the
right. To view details of the appointment, click
 Booked.
 - To confirm an appointment, select :
- After the changes are saved, the appointment's status changes to Confirmed.
- To view the status details, click
 Confirmed.
 - In the
 Appointments book, the appointment status is shown
as
  Confirmed.
- To decline an appointment, select . After you have declined an appointment:
- In the
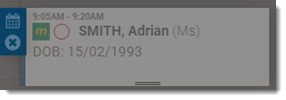
 Appointments book, the appointment is greyed
out.
 - The appointment status is shown as
 Declined.
- In the
- If required, from the Description list, select a previous description.
Note:For confirm, decline, and did not attend appointment statuses, you can set the status individually for each appointment, but not for an entire series. - The current status of appointment is displayed in the heading on the
right. To view details of the appointment, click
-
To update the recurrence details:
-
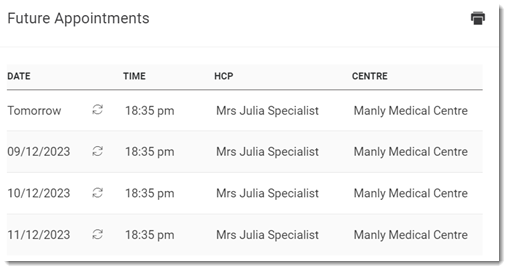
If you want to edit a
future appointment or appointments in a series, click
 Future Appointments and select the appointment you want to edit, or the
appointment from which you want to make changes.
-
Click Save.
To undo the changes, click Reset.
-
After you have saved the appointment details, in the Edit recurring
event panel, select:
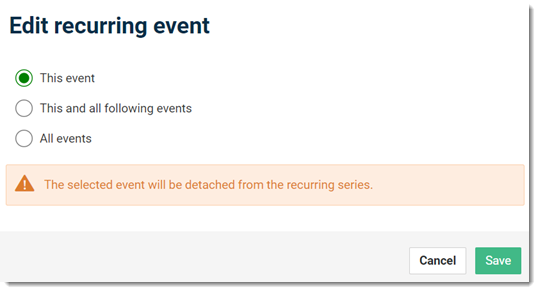
- This event - only the selected event is updated. The updated event is detached from the series.
- This and all following events - update the event you select and all events in the series that follow that event. A new series is created for these events. You lose any customisations to the events in the series and past events remain unchanged.
- All events - update all future events in the series from now. A new series is created for these events. You lose any customisations to the events in the series and past events remain unchanged.
- Click Save.
